Fedora Self–Hosted Server
Manage from Mac

Considering the availability and affordability of the basic requirements for self-hosting useful services, why not?
I previously introduced five key elements for getting started with self-hosting. This post introduces a potential self-host to a path to experiment and familiarise oneself before moving to implementation on a real MiniPC.
This post introduces a prospective self-host individual to tool from Brew for systems management
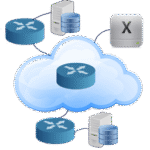
Mac2Net is a site focused on self hosting, starting with basic stuff like hosting virtual machines with websites, internal PIM applications and looking at what else is out there.

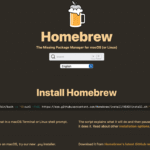
Let's install some useful packages on the Mac from Brew

This post explains how to install packages on Fedora with a script

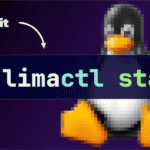
I am explaining how to setup Lima Virtual Machines
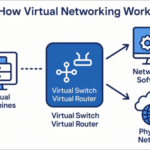
This post explains the different options for networking with Lima on a Mac. The Lima people have provided a Mermaid flowchart network guide to help you choose the best configuration for the Fedora VM.
I introduce Lima Virtual Machines for Mac. Instead I am going to show you how to use Lima and if you had used my Brew package installer script from a previous post, Lima is already installed and ready to go!

I show how to install Fedora on a Mac. Because we are using Lima, the process of installing a Fedora is not exactly the same as on metal or in a VM, although post install configuration shares a lot in common.